6.9.10

Cute in the Cold. Possible?


I officially moved into Rexburg, Idaho. WOW.
Okay, so I was told it was going to be a cold place, but I mean, it's still fall, right?
Well, I got kinda excited for the cold. Back in California I loved being able to put on boots and layer on tanks and hoodies and coats with scarves and beanies. But the "fall cold" here is already colder than the California "winter cold". I'm getting a littlenervous. Not to mention when shopping with my mother for w inter coats I'd see a cute one, pick it up and say, "Hey! What about this one? It's so cute!" And every time I'd get, "No. That is NOT warm enough." And I'm talking about what was the thickest biggest jackets I'd ever seen. Okay, maybe I'm exaggerating. Either way. Being cute in the cold is still possible. Let's check it out:
Thigh High boots? YES, YES, YES.

Military fashion? I'm all about that look. Even got a leather jacket for the cause. It can be hard to do camo without looking... trashy? ... Little girlish? ... white trash? Juss' saying.


Okay, so this really has nothing to do with this post, but I just really want this jacket. That is all.


Last but definitely not least, i want this fall/winter outfit. Love the layering and messiness of it. Hmmmppphhh. Well, that is all. Enjoy your Fall and Winter fashion!

29.8.10

Bringing Insects Inside.

So, I came across this cool, antique necklace and I just died. So I figured I must be able to get a cheap look-a-like. No luck. But I did find a pricier spider necklace.
Then I thought I would love some buggy fabric. I found this lovely fabric, that I would love to have a duvet cover made from.
Or better yet, a wall hanging with this pattern.
Look at this fabric butterfly mobile! This would be so simple to make and you could use old scraps of fabric! Here's the tutorial: http://thelongthread.com/?p=464
My obsession with butterflies has always been headstrong. I sneakily painted a butterfly on my bedroom wall one day, I've got butterfly sheets from PB Teen and a strand of bright colored butterflies made from feathers hanging from my ceiling. Hmm.. (brainstorming) my first girl child shall have a butterfly nursery.

23.8.10

Older sewing projects!

Flower necklace made from scraps of fabric and a Levi store bag handle.
Hair clips:


Embellished V-Neck.
Bags made from old jeans;

Flowers made from an old silk hanker-chief.
Made from fabric scraps!
Cordurouy and fuzzy slippers! (Most frustrating sewing project yet)
Flowers made from organza.
Wallets


Headband
My favorite fringed satchel

Just a few things I have sewn, I thought you might want to check out!

Tutorial: Wallet with a zipper!

Okay, I think we all could never have enough wallets or pouches for money, jewelry, feminine products, receipts, makeup, etc. So here's a simple way to make yourself one in any pattern you'd like!

You will need a minimum of 2 different fabrics, unless you want the inside and outside to be the same.
1. Cut two 6x7.5in squares of your outside fabric.
Cut another two 6x7.5in of your inside fabric.
Cut one 2.5x4.5in square of either fabric or another print for your pocket.
Cut one 2x4.5in piece of your outside fabric.


2. Pin your small strip of outside fabric facing down onto your pocket piece. Sew where the orange line is.


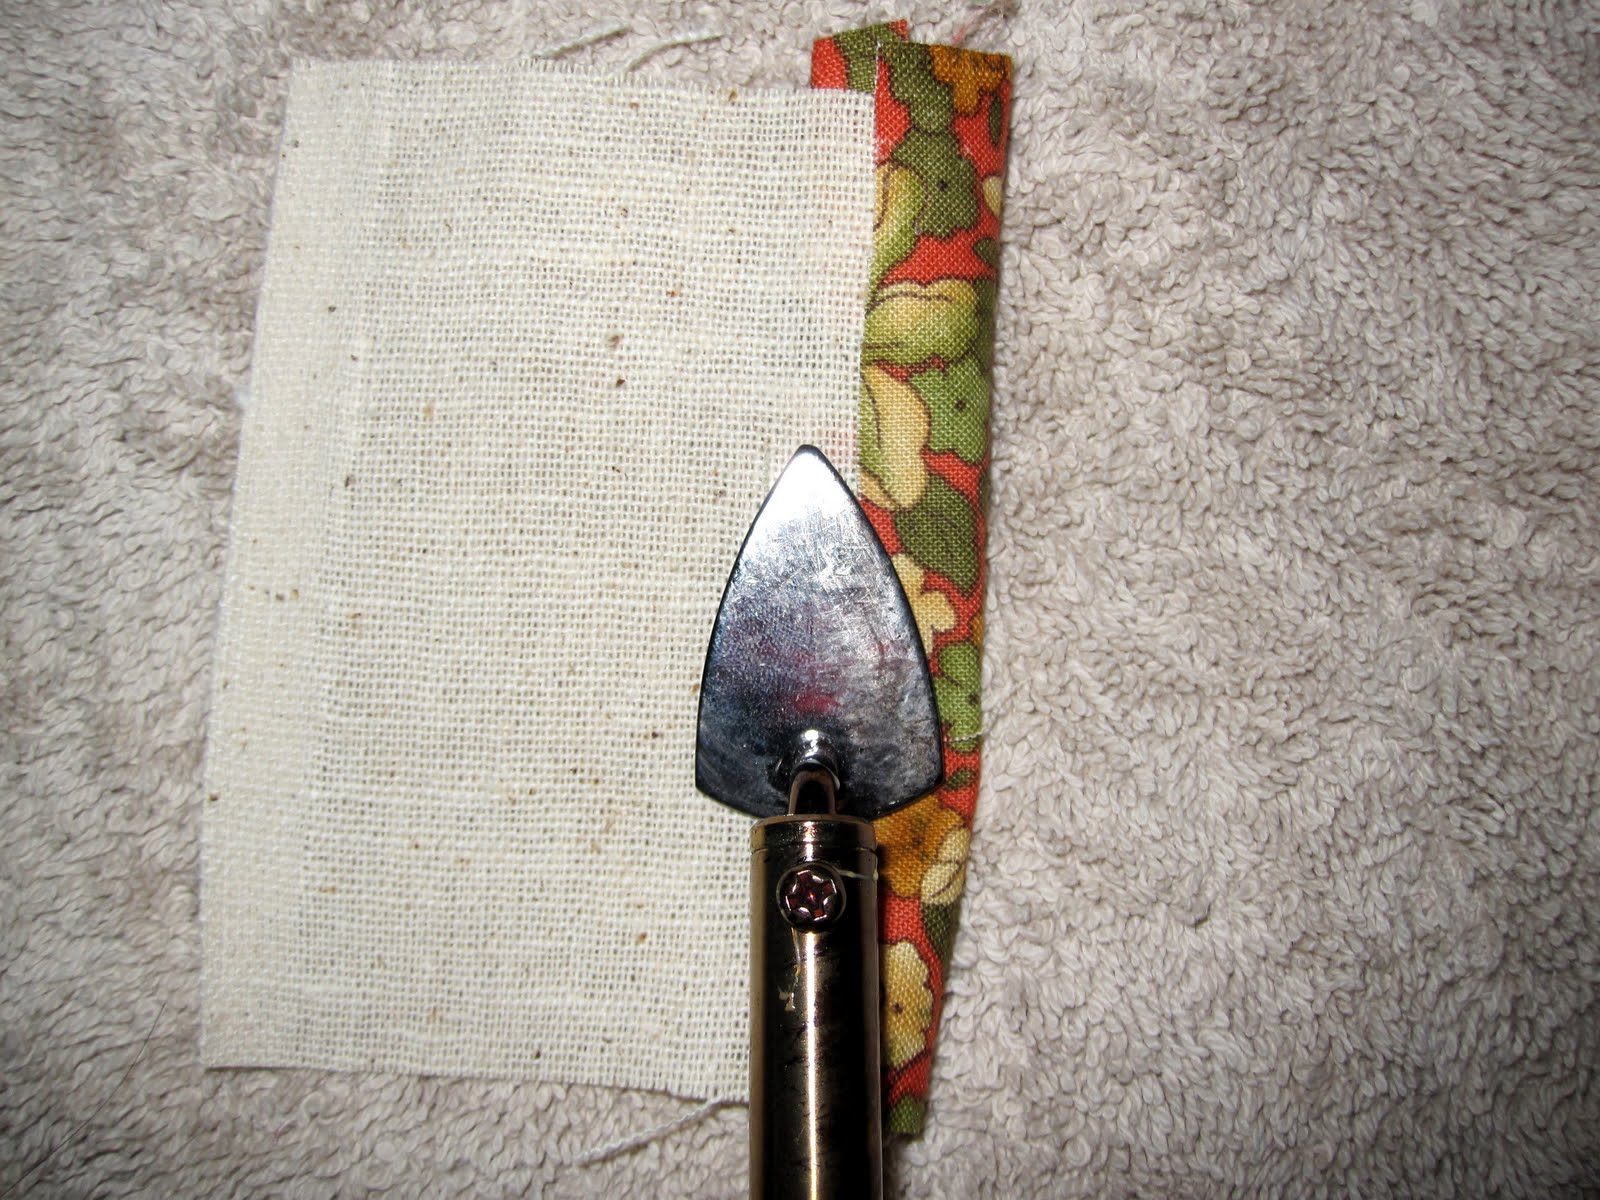
3. Unpin and fold over to iron.


4. Fold over the back and iron.


5. Pin your pocket onto your inside fabric, sew along the orange lines.


6. Place inside fabric onto the back of your outside fabric and pin zipper to the top of the outside fabric. The zipper should be facing downward. Sew along orange line.
7. If you have a zipper foot put it onto your sewing machine, it will help you sew close to the zipper.


8. Unpin and flip the zipper up.
9. Take your other outside fabric and inside with their backs facing each other and pin them to the top of the zipper. Outside fabric should face downward onto the zipper that is facing upward. Flip over and sew along the orange line.

10. Unfold and it should look like this;
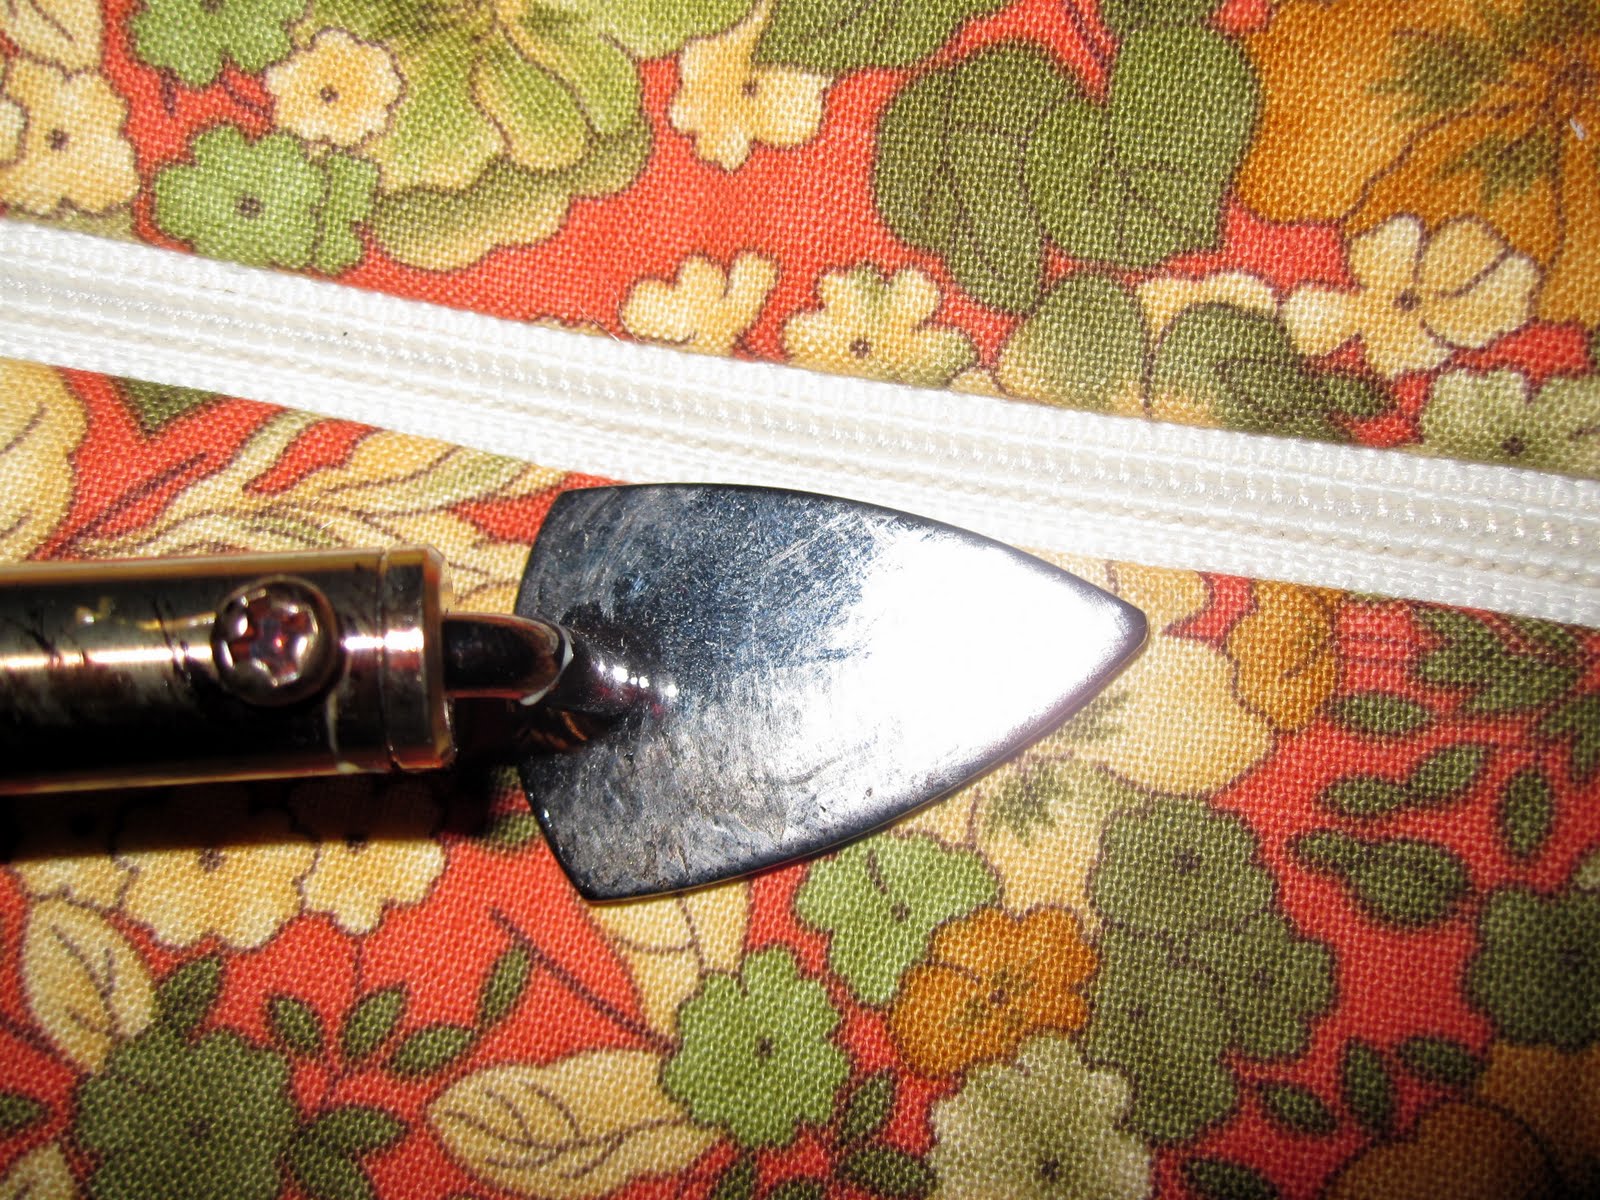
11. Iron the fabric down.
12. Sew along the fabric to keep it from getting into your zipper. Try and sew your straightest stitch! This is where your wallet can start looking sloppy. Sew along the white lines.

13. Flip inside out.
14. Use the side with the pocket to help you decide how short you can sew the wallet without cutting off the pocket. Pin and sew along orange lines.

HINT: Unzip the zipper half way now so it's easier to flip right side out.
14. Trim extra fabric off.

15. Turn right side out and you've just made a wallet!
With a pocket!